Ultimate Guide to Product Photography For You (Tips and Tricks)
TIPS FOR BEGINNERS
Many new photographers consider product photography to be tedious. However, if done correctly, it can be pretty exhilarating.
When it comes to still life photography, you can get incredibly creative, but you need to know how to make them sparkle. This guide will show you how to go about doing it.
We'll start with the basics before moving on to some important suggestions that every newcomer should know. They'll help you become an expert in no time. Let's get this party started.
1. Make use of a tripod.
A tripod is required to ensure that no product photographs are ever blurry. Stabilizing your camera with this easy technique can help you maintain uniformity and focus at all times, ensuring that all of your clients are satisfied.
Most tripods are inexpensive, so you won't have to worry about blowing your budget. If you're on a low budget, however, you can prop your camera up atop a stack of books, for example. After all, the goal is to keep the camera from moving.
2. Use the right lighting.
In general, lighting is the most crucial aspect of photography. Perfect lighting is also a no-brainer for product photography. The images you take will be seen by hundreds of thousands, if not millions, of people, thus the products must be clearly visible.
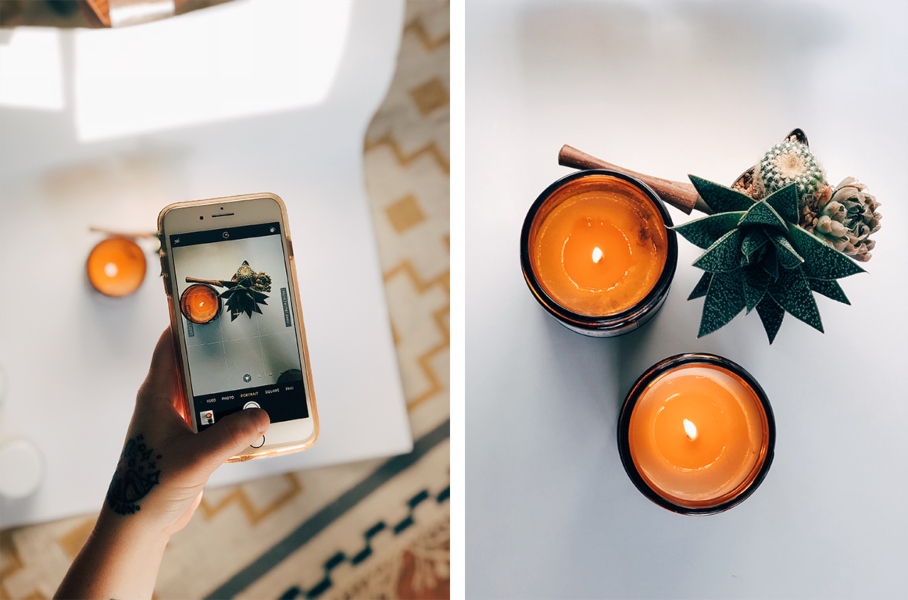
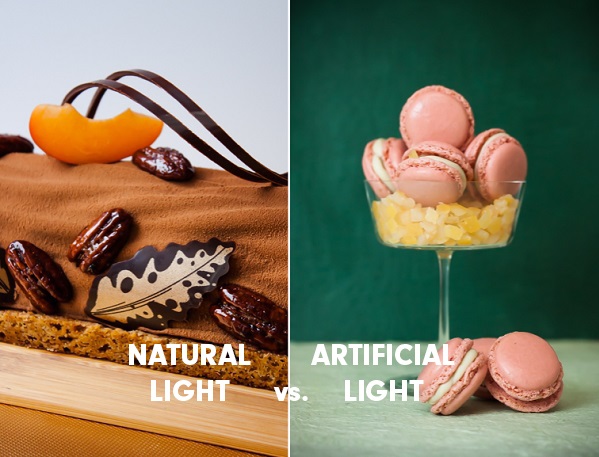
Now you have the option of using natural light or setting up studio lights. Place your goods near a window to get the best natural light. Make sure there's a light aimed at every side of the merchandise for the finest studio lighting. No shadows will come in the way of a flawless shot this way.
Just make sure that the sidelights are aimed at the background rather than the product itself. You don't want the product to blend in with the background.
3. Create the Perfect Backdrop
The background you choose is equally important for the overall quality of your product photography. Here's how you can fix it.
Product-Only Pictures.
Do you notice how in most commercial shots, the product appears to be floating in mid-air? It isn't due to any professional photo retouching. It's all set against a beautiful backdrop.
The standard is to have a white backdrop, although anything else can work for the correct product. The only thing that matters is that there isn't any clutter. You don't want anything else to distract people from your product.
A sweep-stand is required, but if your budget does not allow for one, you can easily create your own.
By simply attaching craft paper on top of it, you may make a chair-mounted sweep for smaller objects. You can tape a lengthy roll of construction paper to the wall and let it fall for more significant items.
In-context Pictures.
Almost any product can benefit from in-context or lifestyle photography. They highlight how people can utilise a product in real life, which is frequently what motivates people to buy it.
This is because they tell a story and aid in the formation of emotional attachments to items. This is where you may let your imagination run wild. However, it's critical to take these images outside, in natural light, and in the correct setting for the product.
Use of Normal Lenses.
Experimenting with wide-angle and telephoto lenses when photographing products is not a good idea. The last thing you want is to make a mistake with the product proportions.
As a result, go for ordinary or standard lenses. They'll assist you in taking images that present products in a way that's similar to how you'd see them in real life. It's impossible to discern the difference.
As a result, acquire a conventional lens with a focal length of 40 mm to 58 mm. The most common focal length is 50 mm, however anything between these two dimensions is acceptable.
Color Psychology is also Important .
Color psychology may be something you're already aware of, even if you're just getting started. It's the study of colors and their many hues, as well as how they influence human emotions and behaviour.
For decades, companies have used this research to develop the perfect branding for their mission. Colors should only be used in lifestyle or in-context images, of course. In product-only images, you don't want any distractions.
As a result, you can convey a more interesting story by using precise colors in the background. You can persuade viewers to purchase the things straight immediately.
True Colors must be Represented.
Just like you shouldn't misrepresent a product's natural proportions, you shouldn't distort its true colors. If you don't, you'll be in a lot of problems with your clients, especially if you're photographing garments.
Imagine ordering a blouse only for its color and receiving one of a completely different hue. This happens more frequently than you might think, resulting in a slew of returns and lost revenue for retailers.
As a result, ensure sure the colors don't change. You can tone them a bit to ensure they perfectly match a real-life product, but that's it.
After you've finished editing your images, check them on several devices to make sure the colors are consistent.
Add Final Touches.
Even if you think each product shot is perfect, you need tweak them somewhat.
You may make them appear absolutely fantastic with photo editing tools. You'll give them a glossy, perfect appearance that will make each item stand out.
You may eliminate shadows, tone colors, and completely remove backgrounds, among other things. If you employed mannequins and busts to better capture clothes and jewels, you may also remove them.
You can make as many changes as you want, but don't go overboard. Products should appear natural, as if they were there in front of your eye
You can utilise a variety of photo editing software. Look for a device with an easy-to-use UI.
free photography lessons, online learn professional photography


Comments
Post a Comment